Before & Afters: What Editing Really Does To Your Images – Calgary Photographer
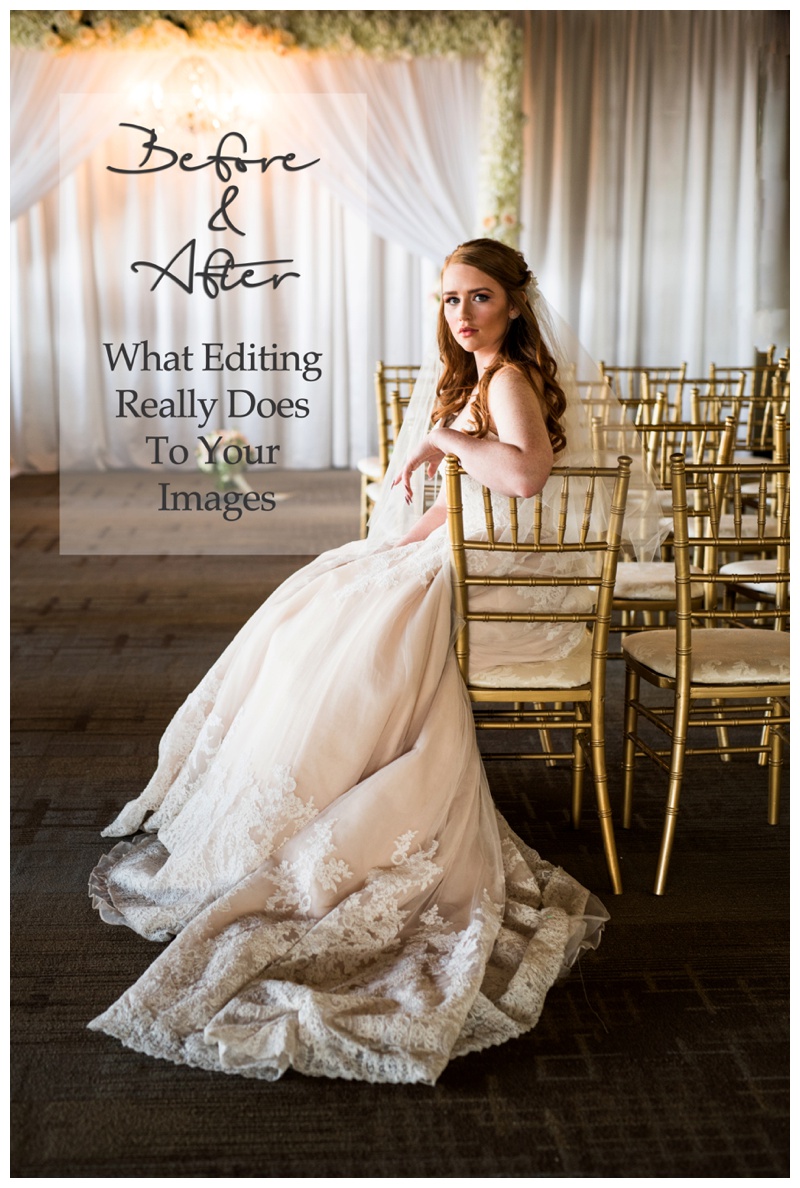

Before & Afters: What Editing Really Does To Your Images
Today’s topic is all bout editing and the importance of it. Everyone thinks that photographers hold some sort of magic power that we conjure behind locked doors in dark rooms…Well, that’s how it use to be. When I first started out in photography I found photographers I loved and then stalked their work like a middle school crush. Seriously I spent hours looking at their work and trying to figure out just how they did it. Back then photographers were less likely to share their tips and tricks. Thankfully I fell like this has switched slightly and now there is more community then competition and I am certainly thankful for this.
For those reading this that are not photographers, I just have to stress that editing is a big part of what we do. We spend hours and house sitting behind our computers perfecting your images. But please keep in mind, most of us would WAY rather be out shooting then editing. Because of this I would rather nail a shot in camera and then spend 10 hours removing items from photos or switching heads (yes that is a real thing).
My editing style is also ever changing. After 8 years in the photography world I have found what I like my images to look like. I like my blacks black, my whites white and my colors rich. This doesn’t mean that I ever stop experimenting. As technology changes so does my editing process. It truly is a ever-changing process.
I am going to show you three separate before and afters of photos I have done in three different light types; indoors with directional light, overcast with flat light, and high sun.
Indoors with Directional Light:
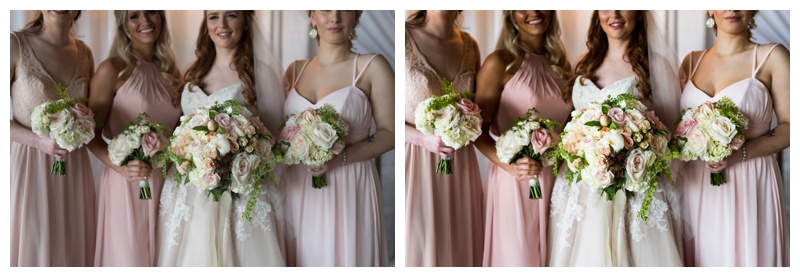
The above images are part of a styled shoot I got to be apart of for Event Core back in April. In this photo we were indoors with diretional light coming from the wall of windows to the left. My setting for this photo are I was using my Nikon D750 with my Sigma 50 1/500 of a sec shutter ISO 800, F2.5, and flash did not fire. Now you will notice in the photos the first step I always do is straighten the image. I can not take a straight photo to save my life. I also wanted to crop in a bit so you only see the girls from the nose down. From there I always lighten my images slightly with the exposure toggle in light room. This one is lightened to +50. Then I changed my contrast to +33. These number do vary from photo to photo. Then I move down to the highlights -31, shadow +34, whites 0, blacks -40. Next I move down to the tone curve highlights -4, lights +17, darks -19, shadows +9. Then its down to the sharpening and nose reduction. These to do exactly the same to every photo sharpening +70 noise +12. You an assume that I have done this to all the edited images. Lastly I take the radial filter and make a circle around the item that is the focal point. In this photo is is the bouquet. This is where I darken the image around the focal point to draw you eye in. I use the exposure drop down and change the exposure slide to -30 and the saturation to +5. That’s it!
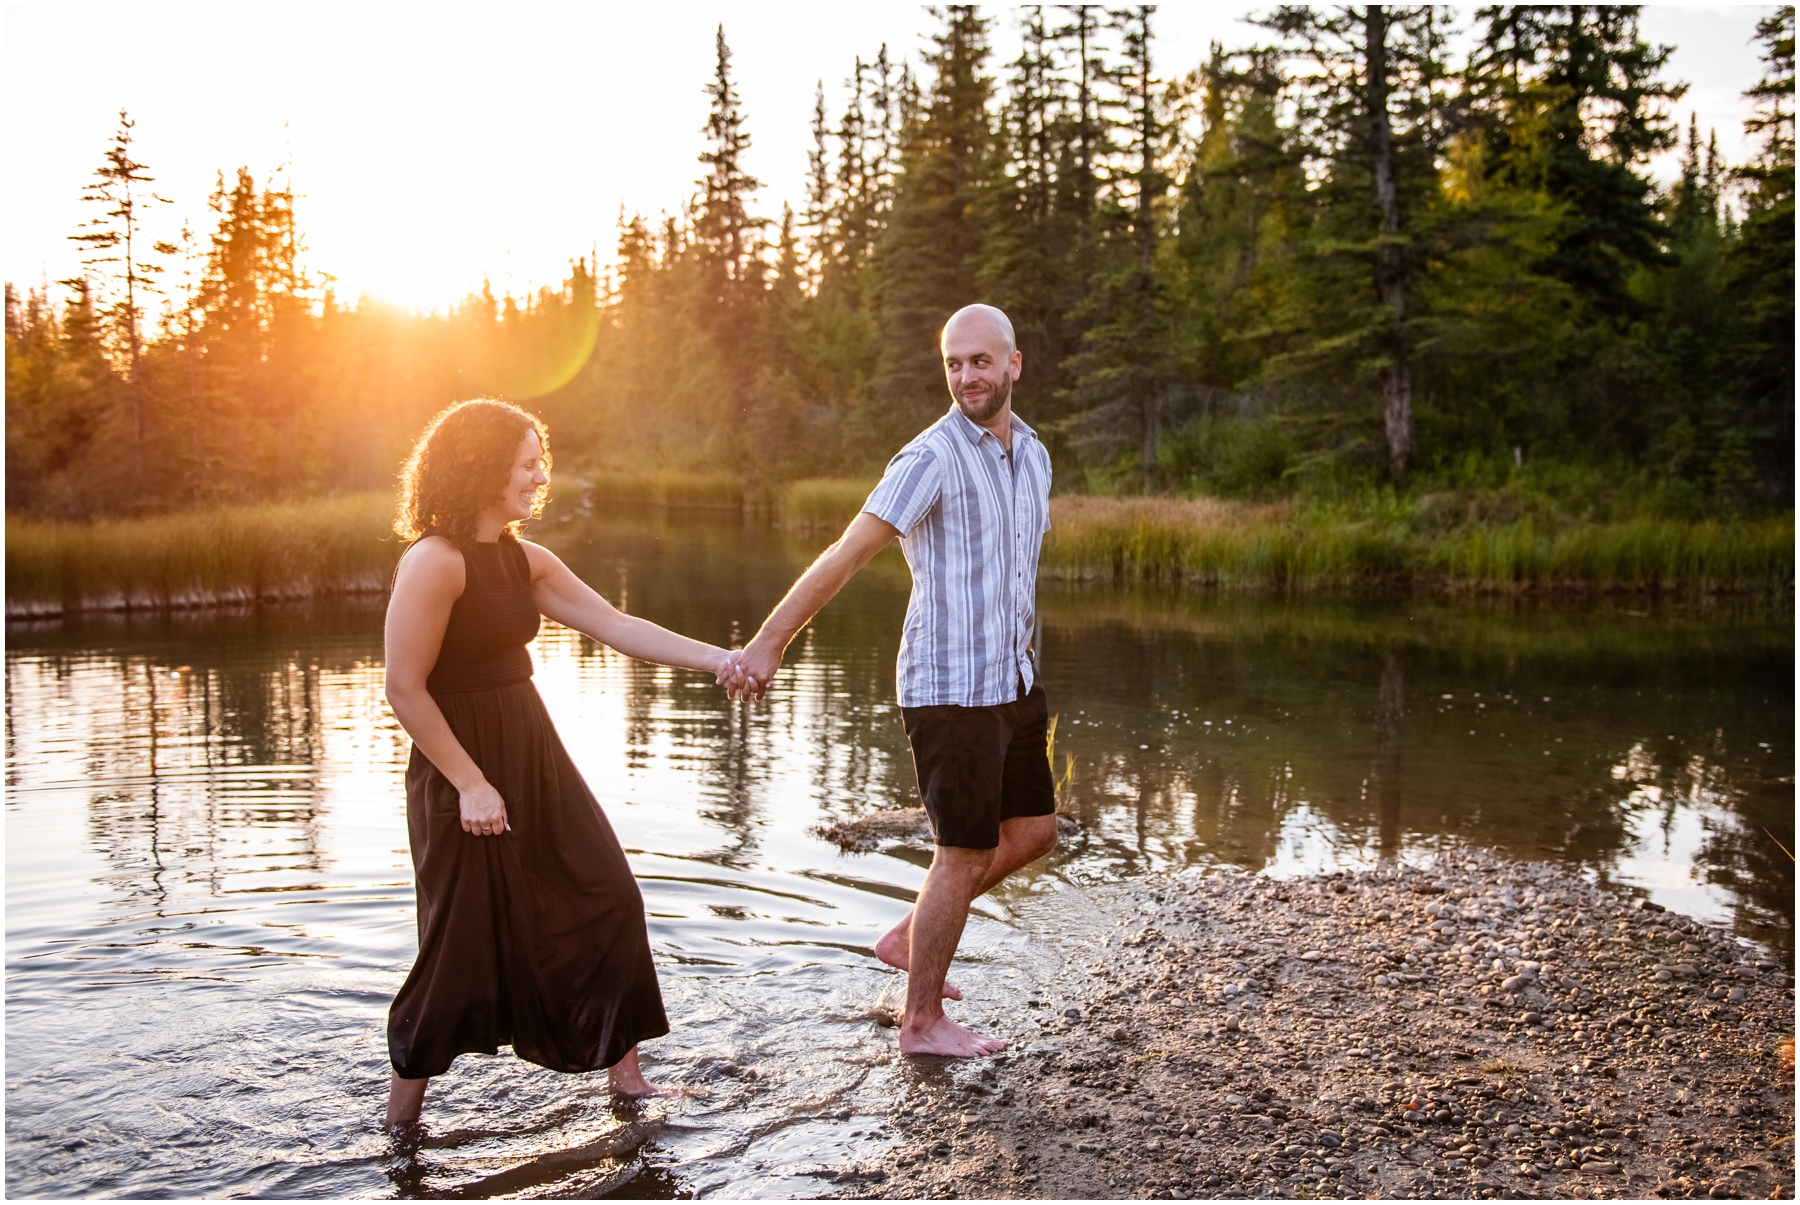
Overcast with Flat Light
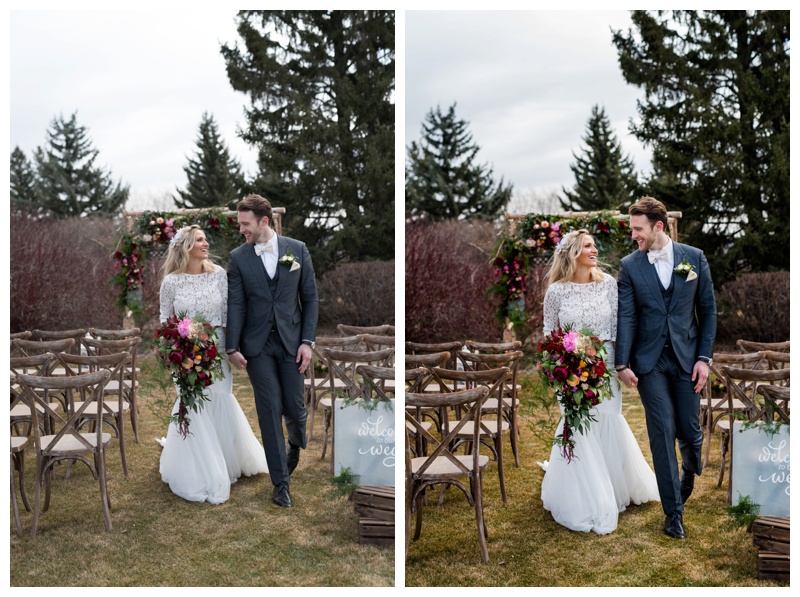
The the photo above was shot on my Nikon D750 with my Simga 50 1/2000 shutter, f2.8 ISO 400 flash did not fire. In Lightroom I started again with cropping and straightening the image. Next I use my exposure toggle and moved it to +11, my blacks are +25, shadows +57, whites 0, blacks -24. Then down to the tone curve and my numbers there are highlights 0, lights +19, darks -28 and shadows +7. Then I add in the radial filter around the couple making sure not to go too wide as I want to darken everything but them (exposure -.42, highlights -24, saturation 19). What I like about making sure my blacks are black and the whites are white is that it really does bring out the color in the the bouquet and also ensures that the brides dress is white. Because there was also flat light during the photos I also tried really hard to make sure I saved what ever shadow and highlight there was.
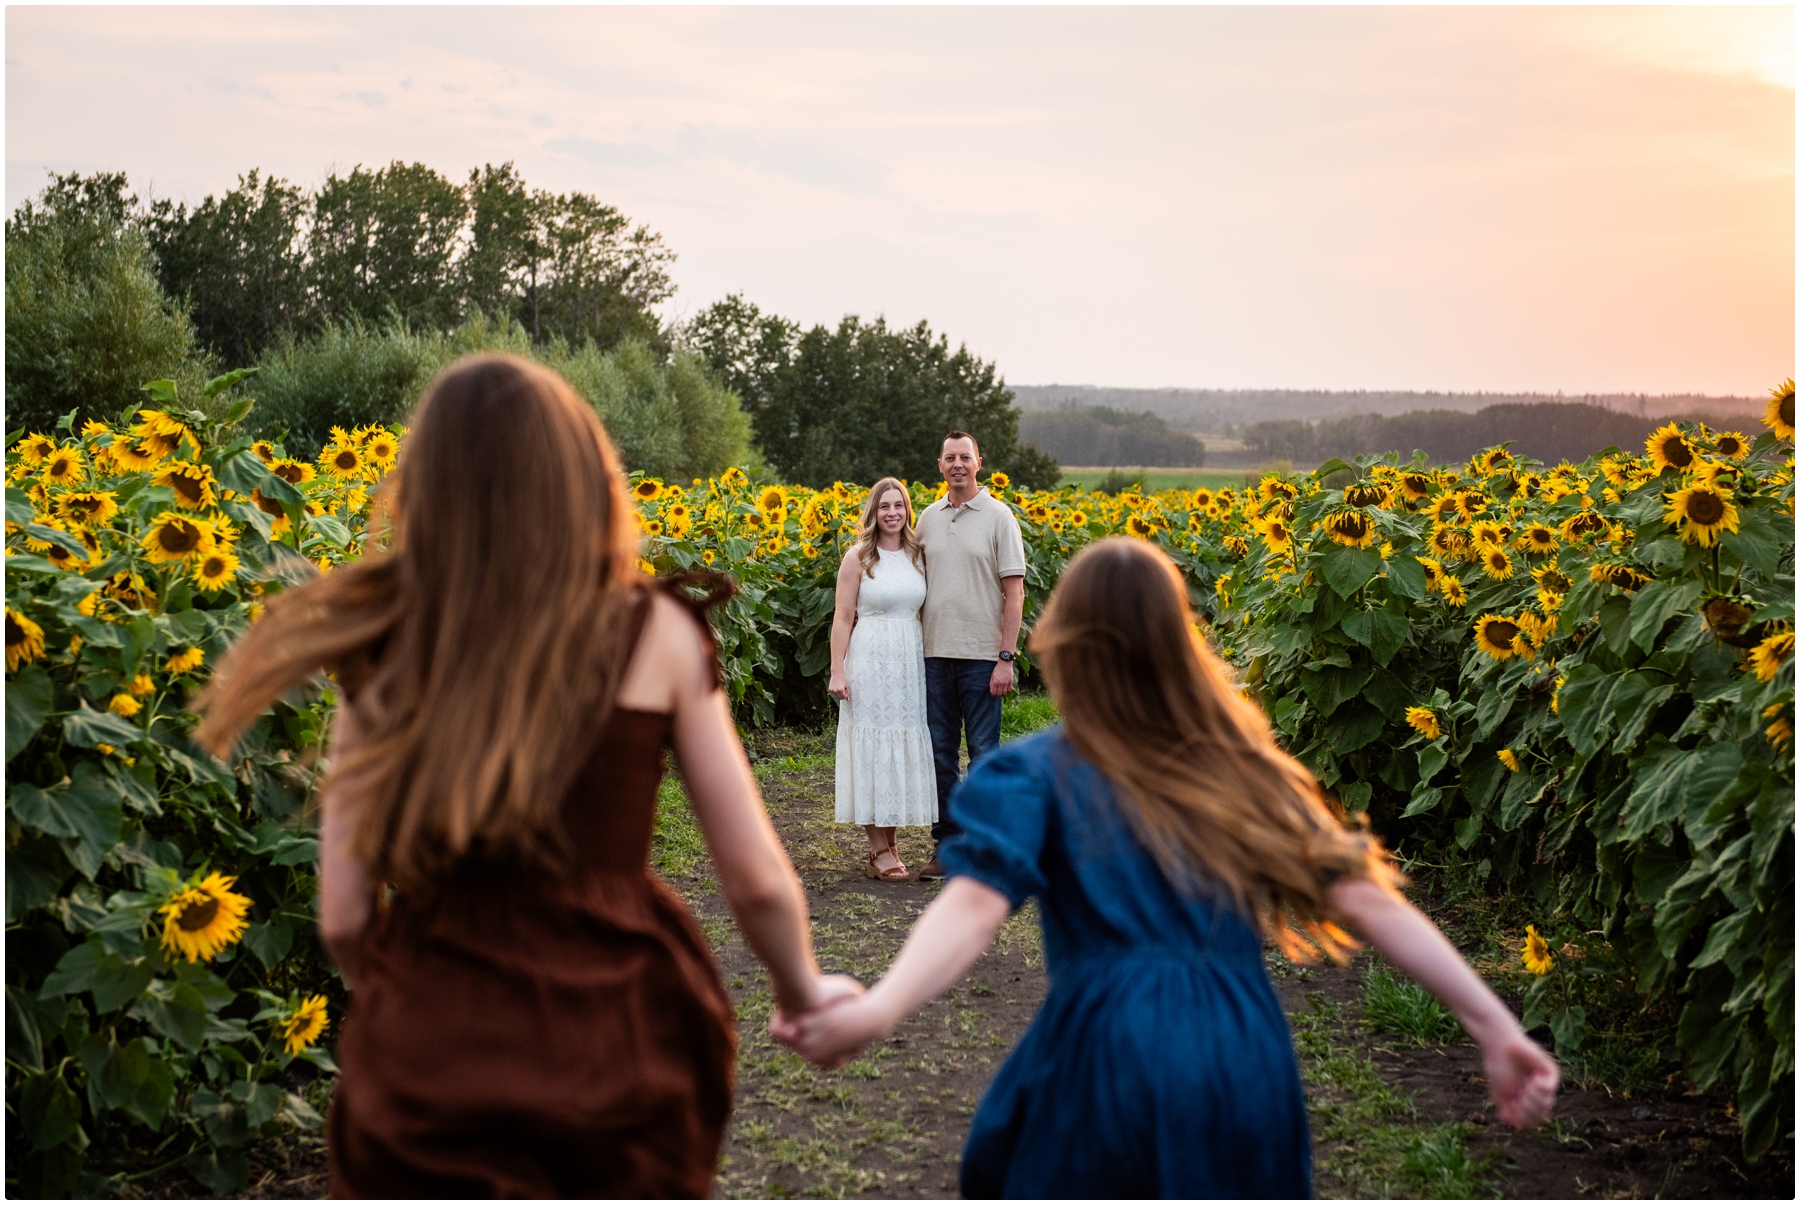
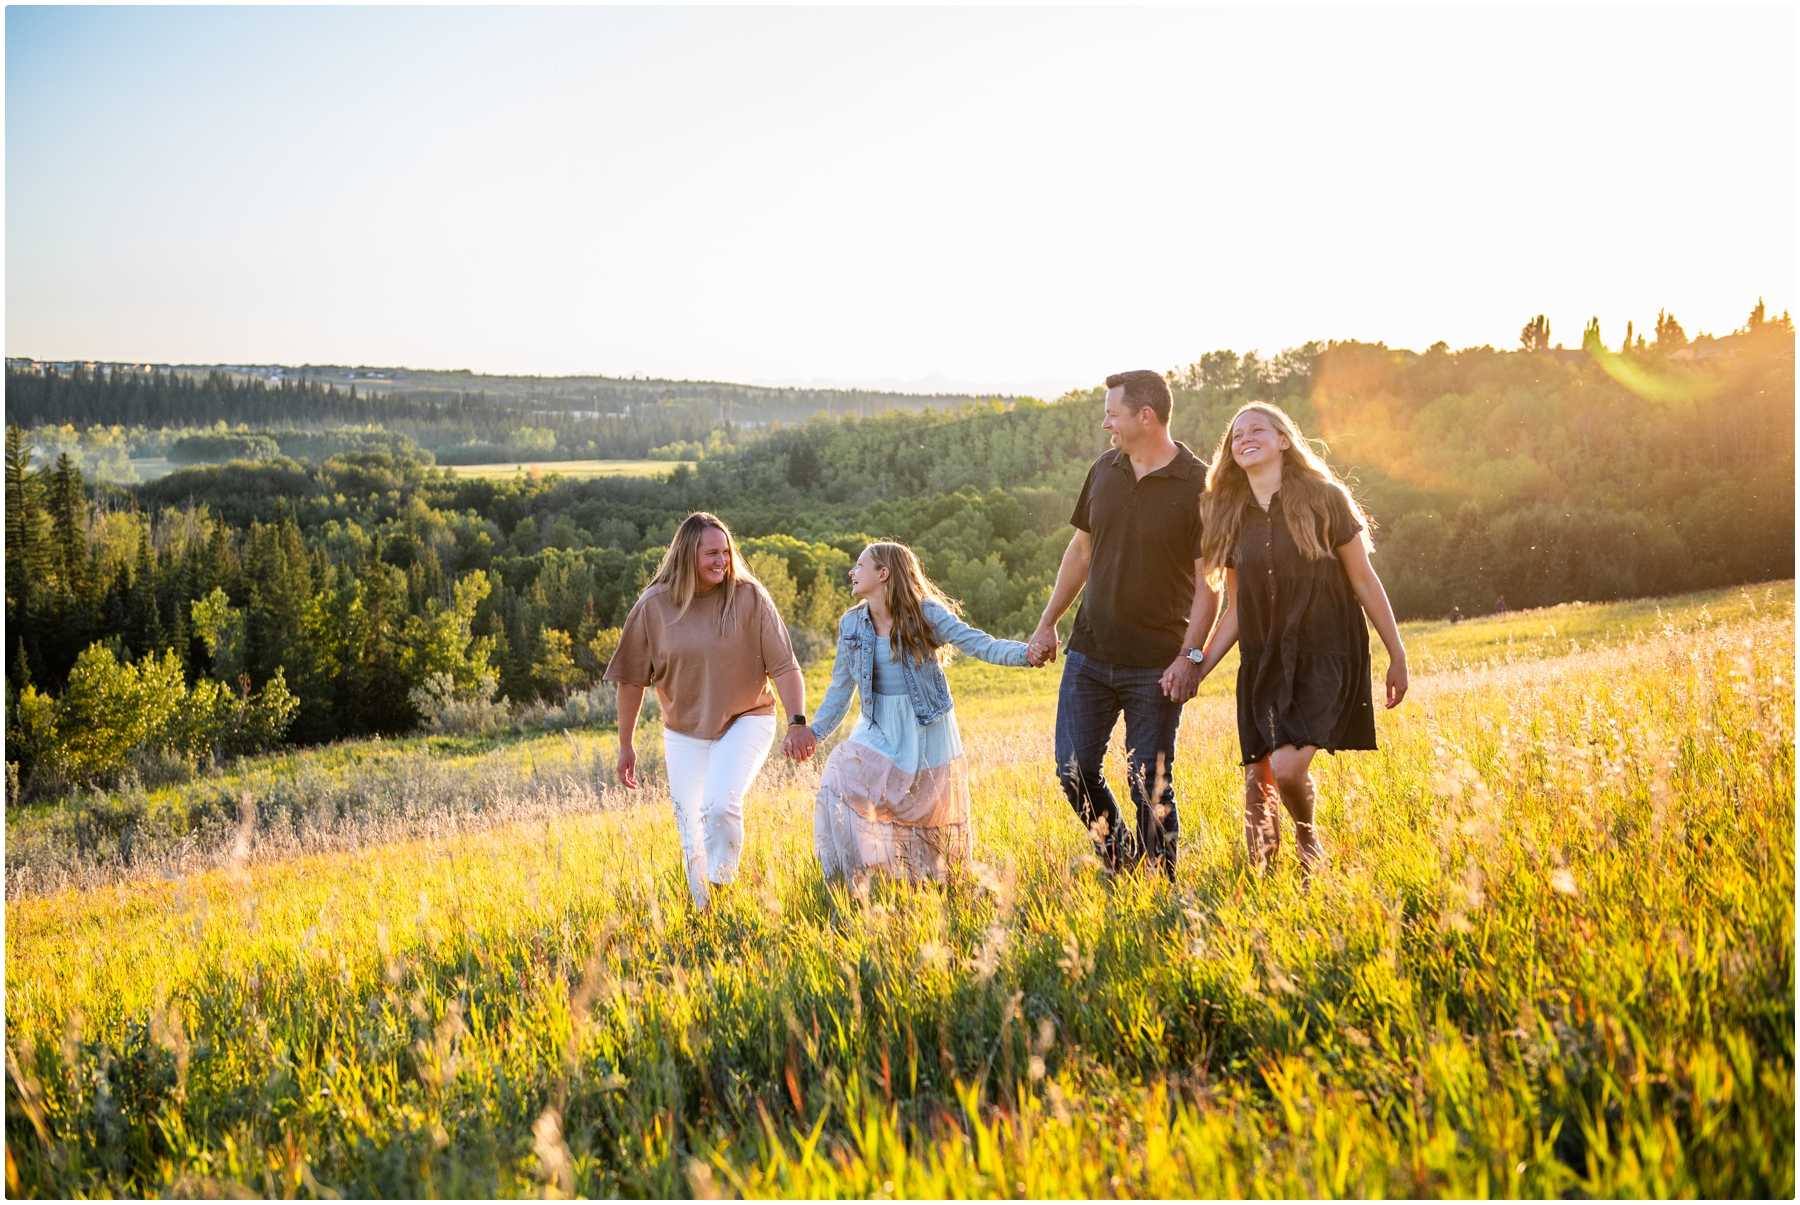
Full High Sun
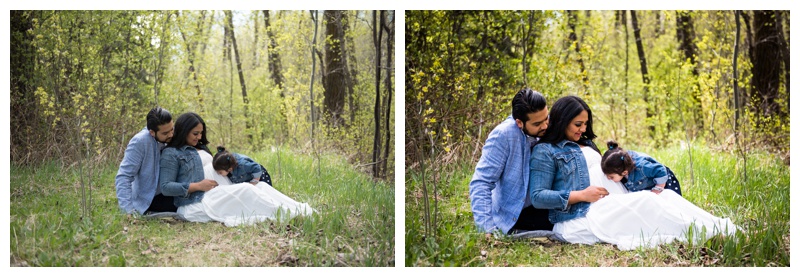
This was a maternity session I shot back in May just as the leave were new on the trees. The problem we as photographers start having at this time of the season is how vibrant the green is and how it reflects onto people faces. If you aren’t careful to will end up with everyone having green faces. My setting again for this photo are Nikon D750 & my Nikon 24-70 lens at 58, 1/1000 shutter, f2.8 focal length, ISO400 flash did not fire. In Lightroom I cropped in and straightened, my exposure is +33, contrast +29, I changed the temp to 5400 warming the image up and changing the tint to+23 to tone down the green. By adding more pink into the photo it neutralizes the green in the skin tones. My highlights -24, shadows +47, whites 0, blacks -18. On my tone curve my settings are highlights 0, lights +35, darks -28, shadows +1. Due the vibrant green I also went into the HSL portion of Lightroom and lowered the green in the saturation to -11. Then the radial filter my settings are exposure -.88, highlights -33.
Now I am sure anyone that is not a photographer has NO FREAKING IDEA what this all means and that it ok. Its not really meant to. Just know that every photo is tweaked to perfection and there is care and attention put into it. We as photographers don’t just push one button and the photos is edited. That would seriously be a dream. Instead each photo the light could be slightly different so as you can see the numbers will be different. Yes there are presets out there that photographers use to make life easier but it isn’t a one click wonder. As you can see from what I do, I actually don’t use a presets. Not because I can’t, but because that is not the way I learned. Each and every photographer has they own way of doing things and that is their own creative process.
Next time you are getting your photos taken just know that the work doesn’t end at the end of the shoot. That is just merely the start. Your photographer has hours of editing ahead of them to make sure your photos are perfect!
If your looking for a Wedding Photography get in touch with me at info@paisleyphotos.ca
CONNECT WITH ME ON SOCIAL MEDIA
Instagram www.instagram.com/paisleyphotography
Facebook www.facebook.com/PaisleyPhotos
Twitter www.twitter.com/paisley_photo
Pinterest www.pinterest.com/paisleyphotos